Boutiques (vendors)
The boutique back office is where you set up your shop, list products, manage stock and orders, handle returns and see your payouts. To join, apply from the shop first; once OOSH approves you, your boutique and owner account are created.
Who this is for: Independent boutiques selling on OOSH.
Where to sign in: Sign in at admin.ooshfashion.com, then open your back office at admin.ooshfashion.com/store.
Step 1
Apply to sell on OOSH
A short application with verification. You can save and come back to it.
Shop → Sell on OOSH → Apply
- 1On the shop, select Sell on OOSH (top bar), then Apply.
- 2Fill in the four steps: your business (type, contact, country), your shop (name, address, brands you sell), verification (photo ID, a live photo to match, and a phone or email code), and review and submit.
- 3Your progress is saved, so you can finish later.
- 4OOSH reviews your application. You are emailed the decision; if approved, your boutique and owner sign-in are created.
Verification (ID, live photo match and the phone code) protects shoppers and is required before you can sell.
Step 2
Find your way around the back office
One sidebar with everything your boutique needs.
admin.ooshfashion.com/store
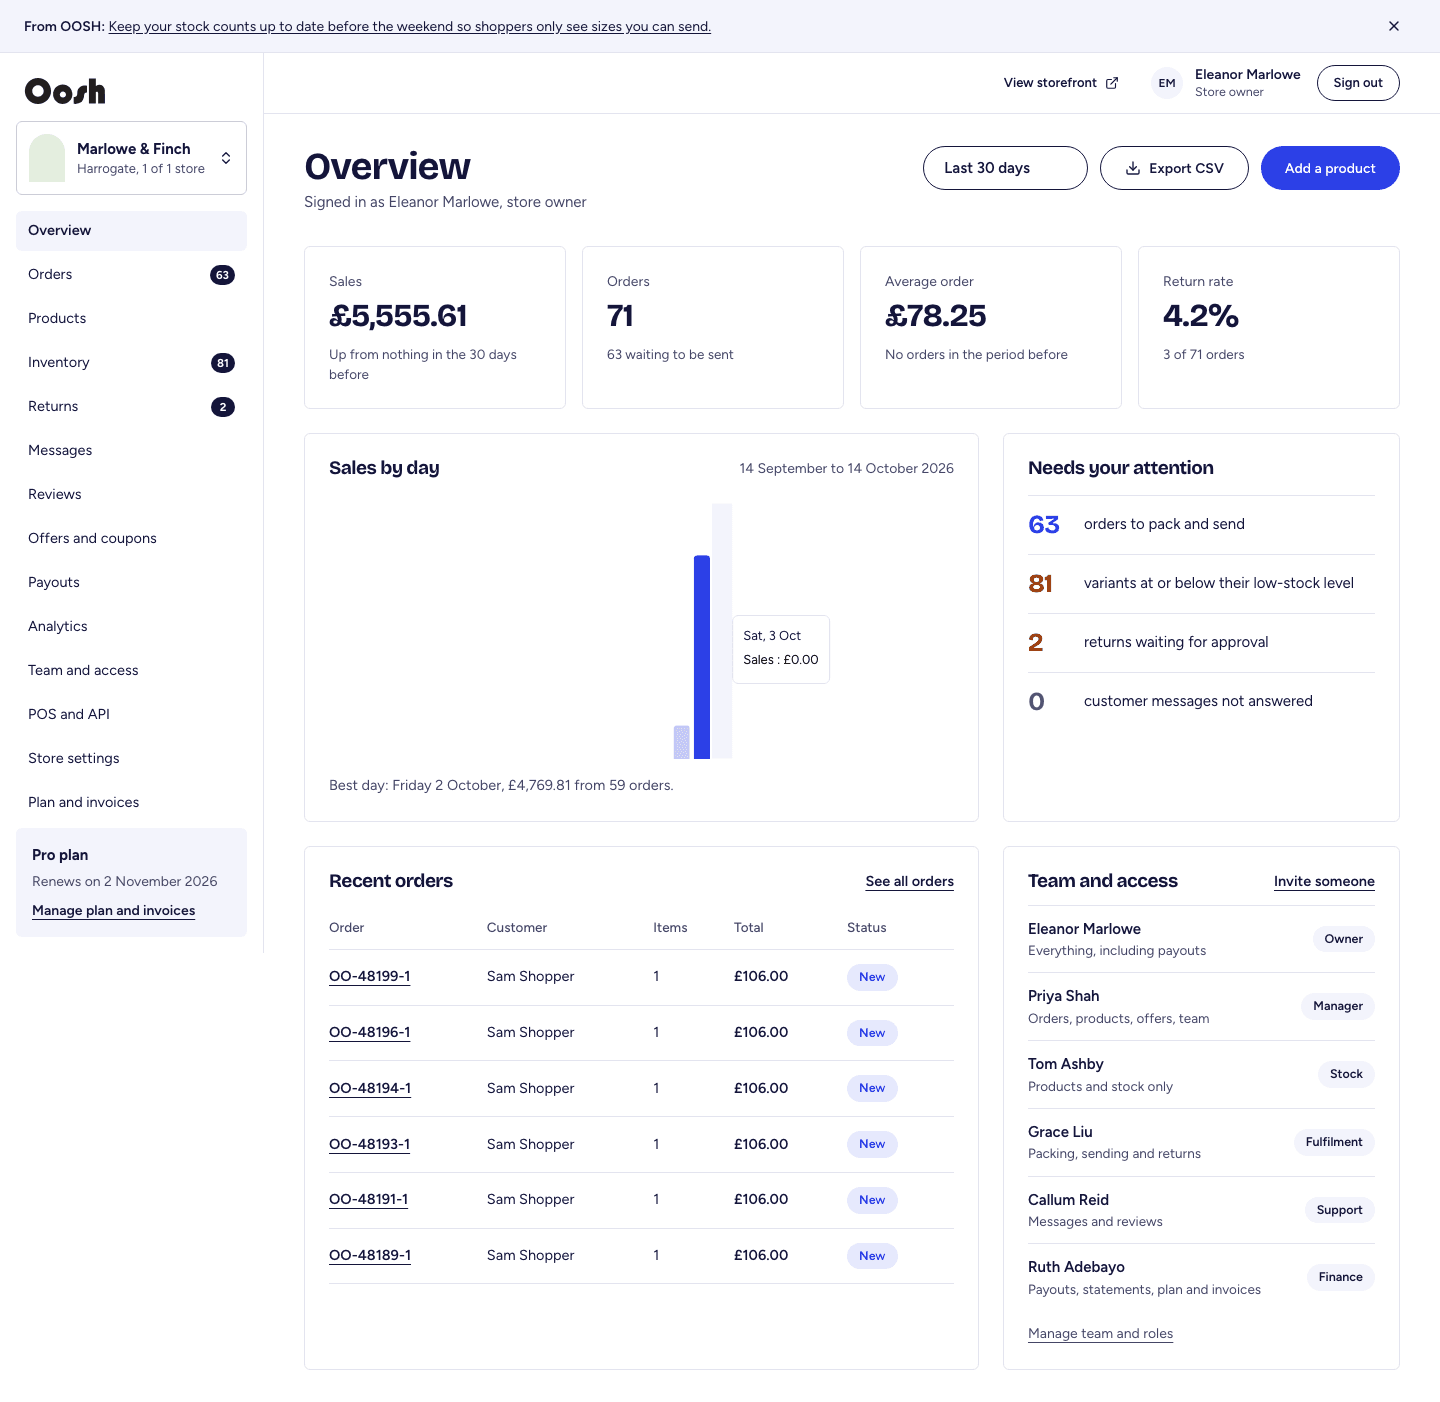
- 1The Overview shows sales, orders needing action and alerts.
- 2The left sidebar has Orders, Products, Inventory, Returns, Messages, Reviews, Offers and coupons, Payouts, Analytics, Team and access, POS and API, Store settings and Plan and invoices.
- 3If you run more than one boutique, switch between them from the selector at the top of the sidebar.
- 4Select View storefront (top right) to see your shop as customers do.
Step 3
Add a product with colours and sizes
One editor for photos, variants, pricing and delivery.
Store → Products → Add a product
- 1Open Products and select Add a product.
- 2Fill in the identity (name, category, brand, item type) and the description (short and full).
- 3Add attributes (gender, colour, materials, fit and more), then build the sizes, colours and stock grid — one row per size and colour, each with its own SKU and stock.
- 4Set the price (and RRP, member price or country prices if you use them), the packaged weight and delivery details.
- 5Upload photos — at least three are needed to publish. Drag to reorder; the first is the main photo.
- 6Select Save draft to keep working, or Publish to send it for review. New products are checked by OOSH before they go live.
You can also import many products at once from a spreadsheet: Products → Import. Rows are matched by their SKU, so re-importing updates products rather than duplicating them.

Step 4
Keep stock up to date
Accurate stock means shoppers only see sizes you can send.
Store → Inventory
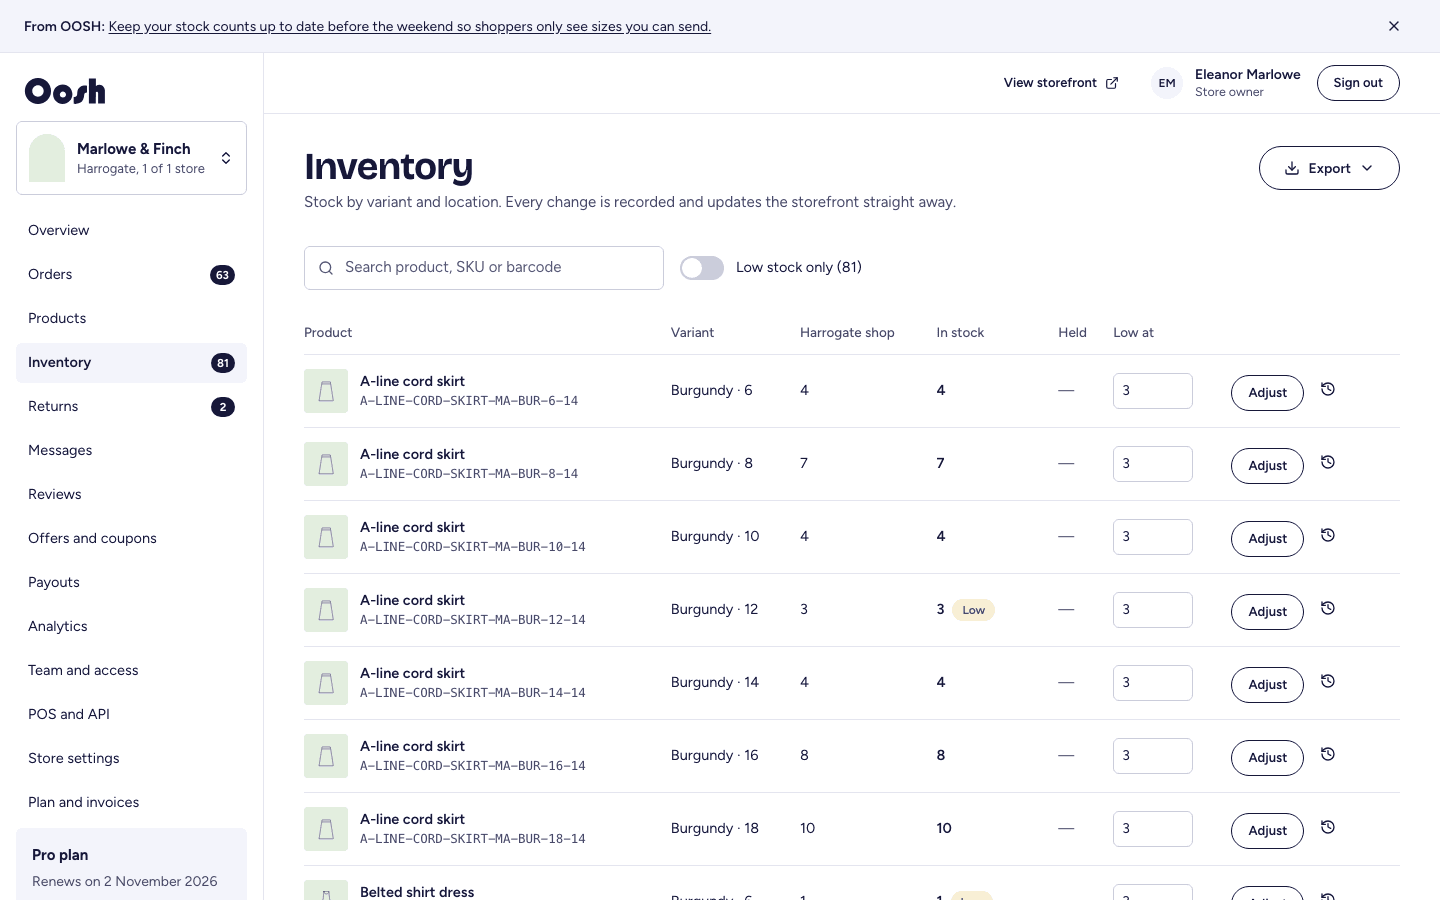
- 1Open Inventory to see stock for every size, with a history of each change.
- 2Edit a figure to adjust stock; the reason and date are recorded.
- 3You get an instant email when a sale takes a size to its low-stock level, plus a daily summary.
Step 5
Fulfil orders and collections
Pack, label and send — or set items aside for collection.
Store → Orders
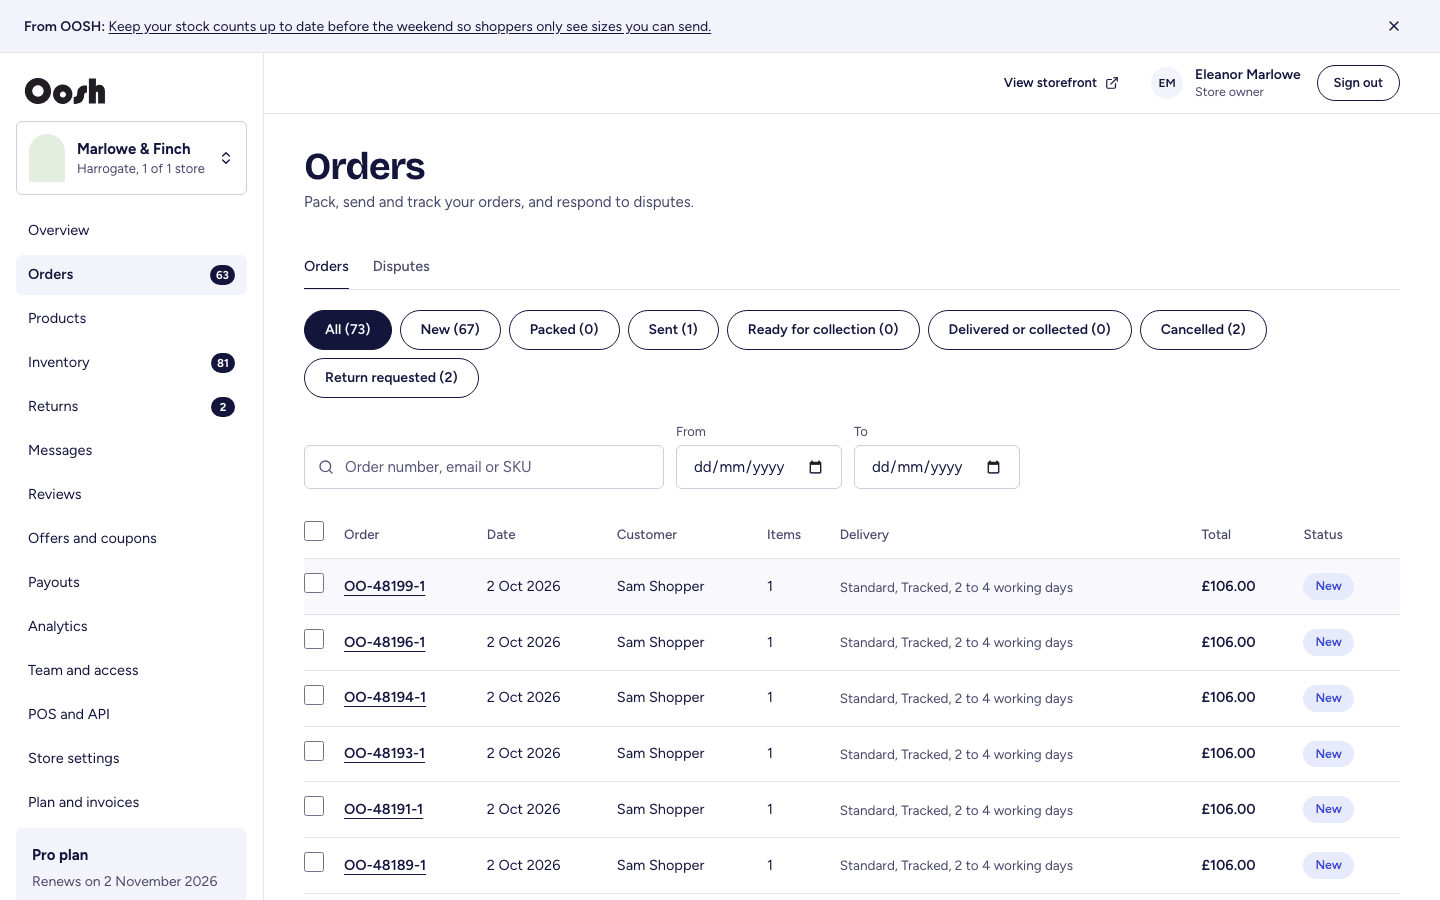
- 1Open Orders. New orders are highlighted and you are emailed when one arrives.
- 2Open an order to print the packing slip and the carrier label, then mark it sent with its tracking number.
- 3For click-and-collect orders, set the items aside and mark the order ready for collection; the shopper is told when to come.
- 4Handle returns under Returns: approve or decline, and the refund is processed once you receive the items.
Step 6
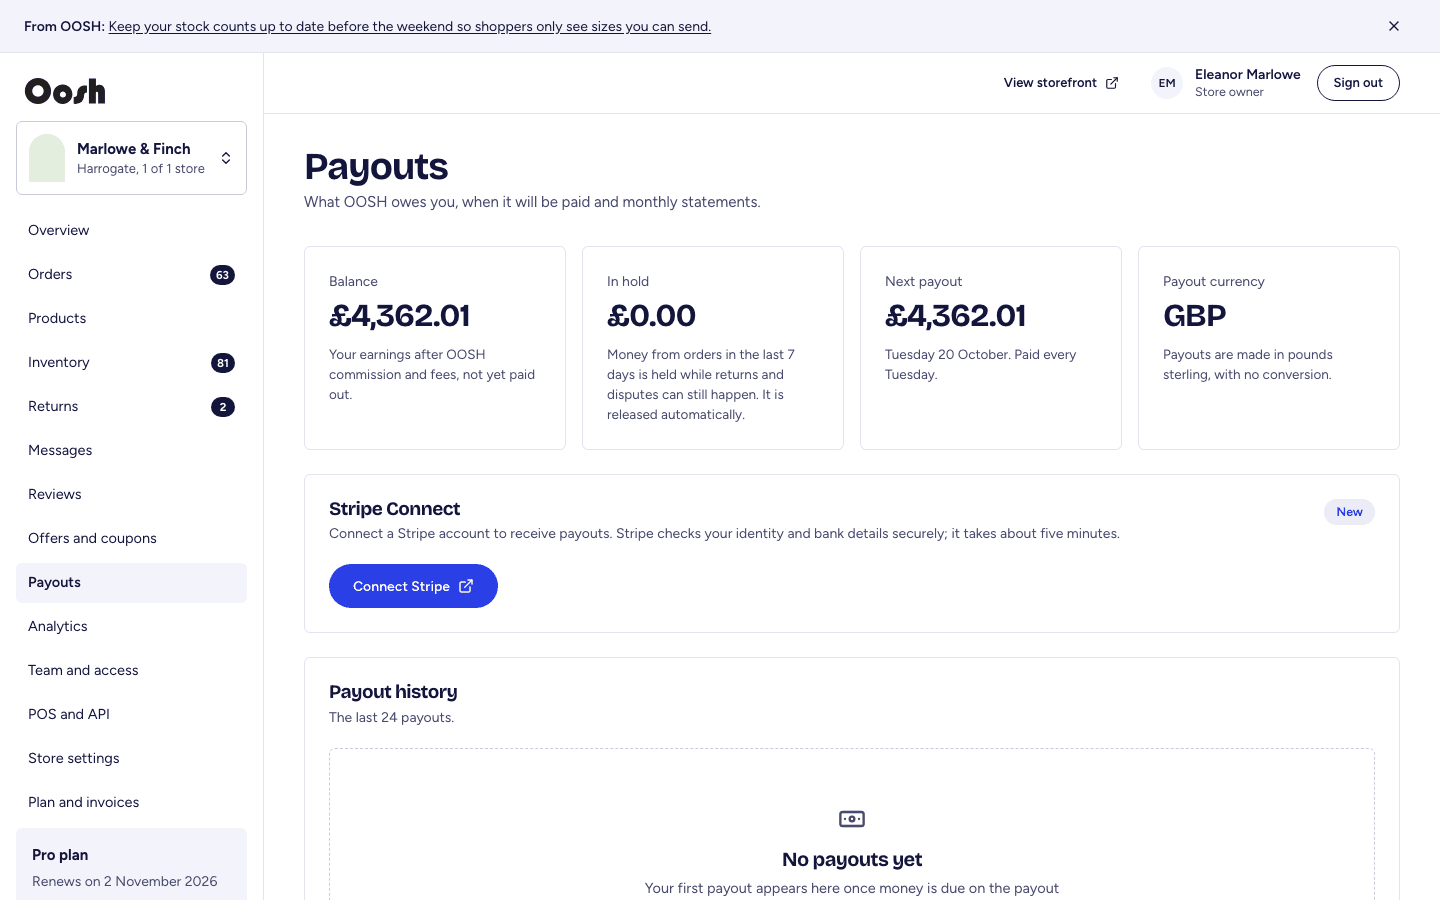
See your earnings and payouts
Your share of each sale, your fees and your payout history.
Store → Payouts
- 1Open Payouts to see earnings, the commission and fees OOSH takes, and past payouts.
- 2Connect your bank through Stripe to be paid automatically after each payout run; until then OOSH pays you by bank transfer on the schedule.
- 3Download invoices for your OOSH plan under Plan and invoices.
Step 7
Shop settings and team
Your public shop details and who can help run it.
Store → Store settings, Team and access
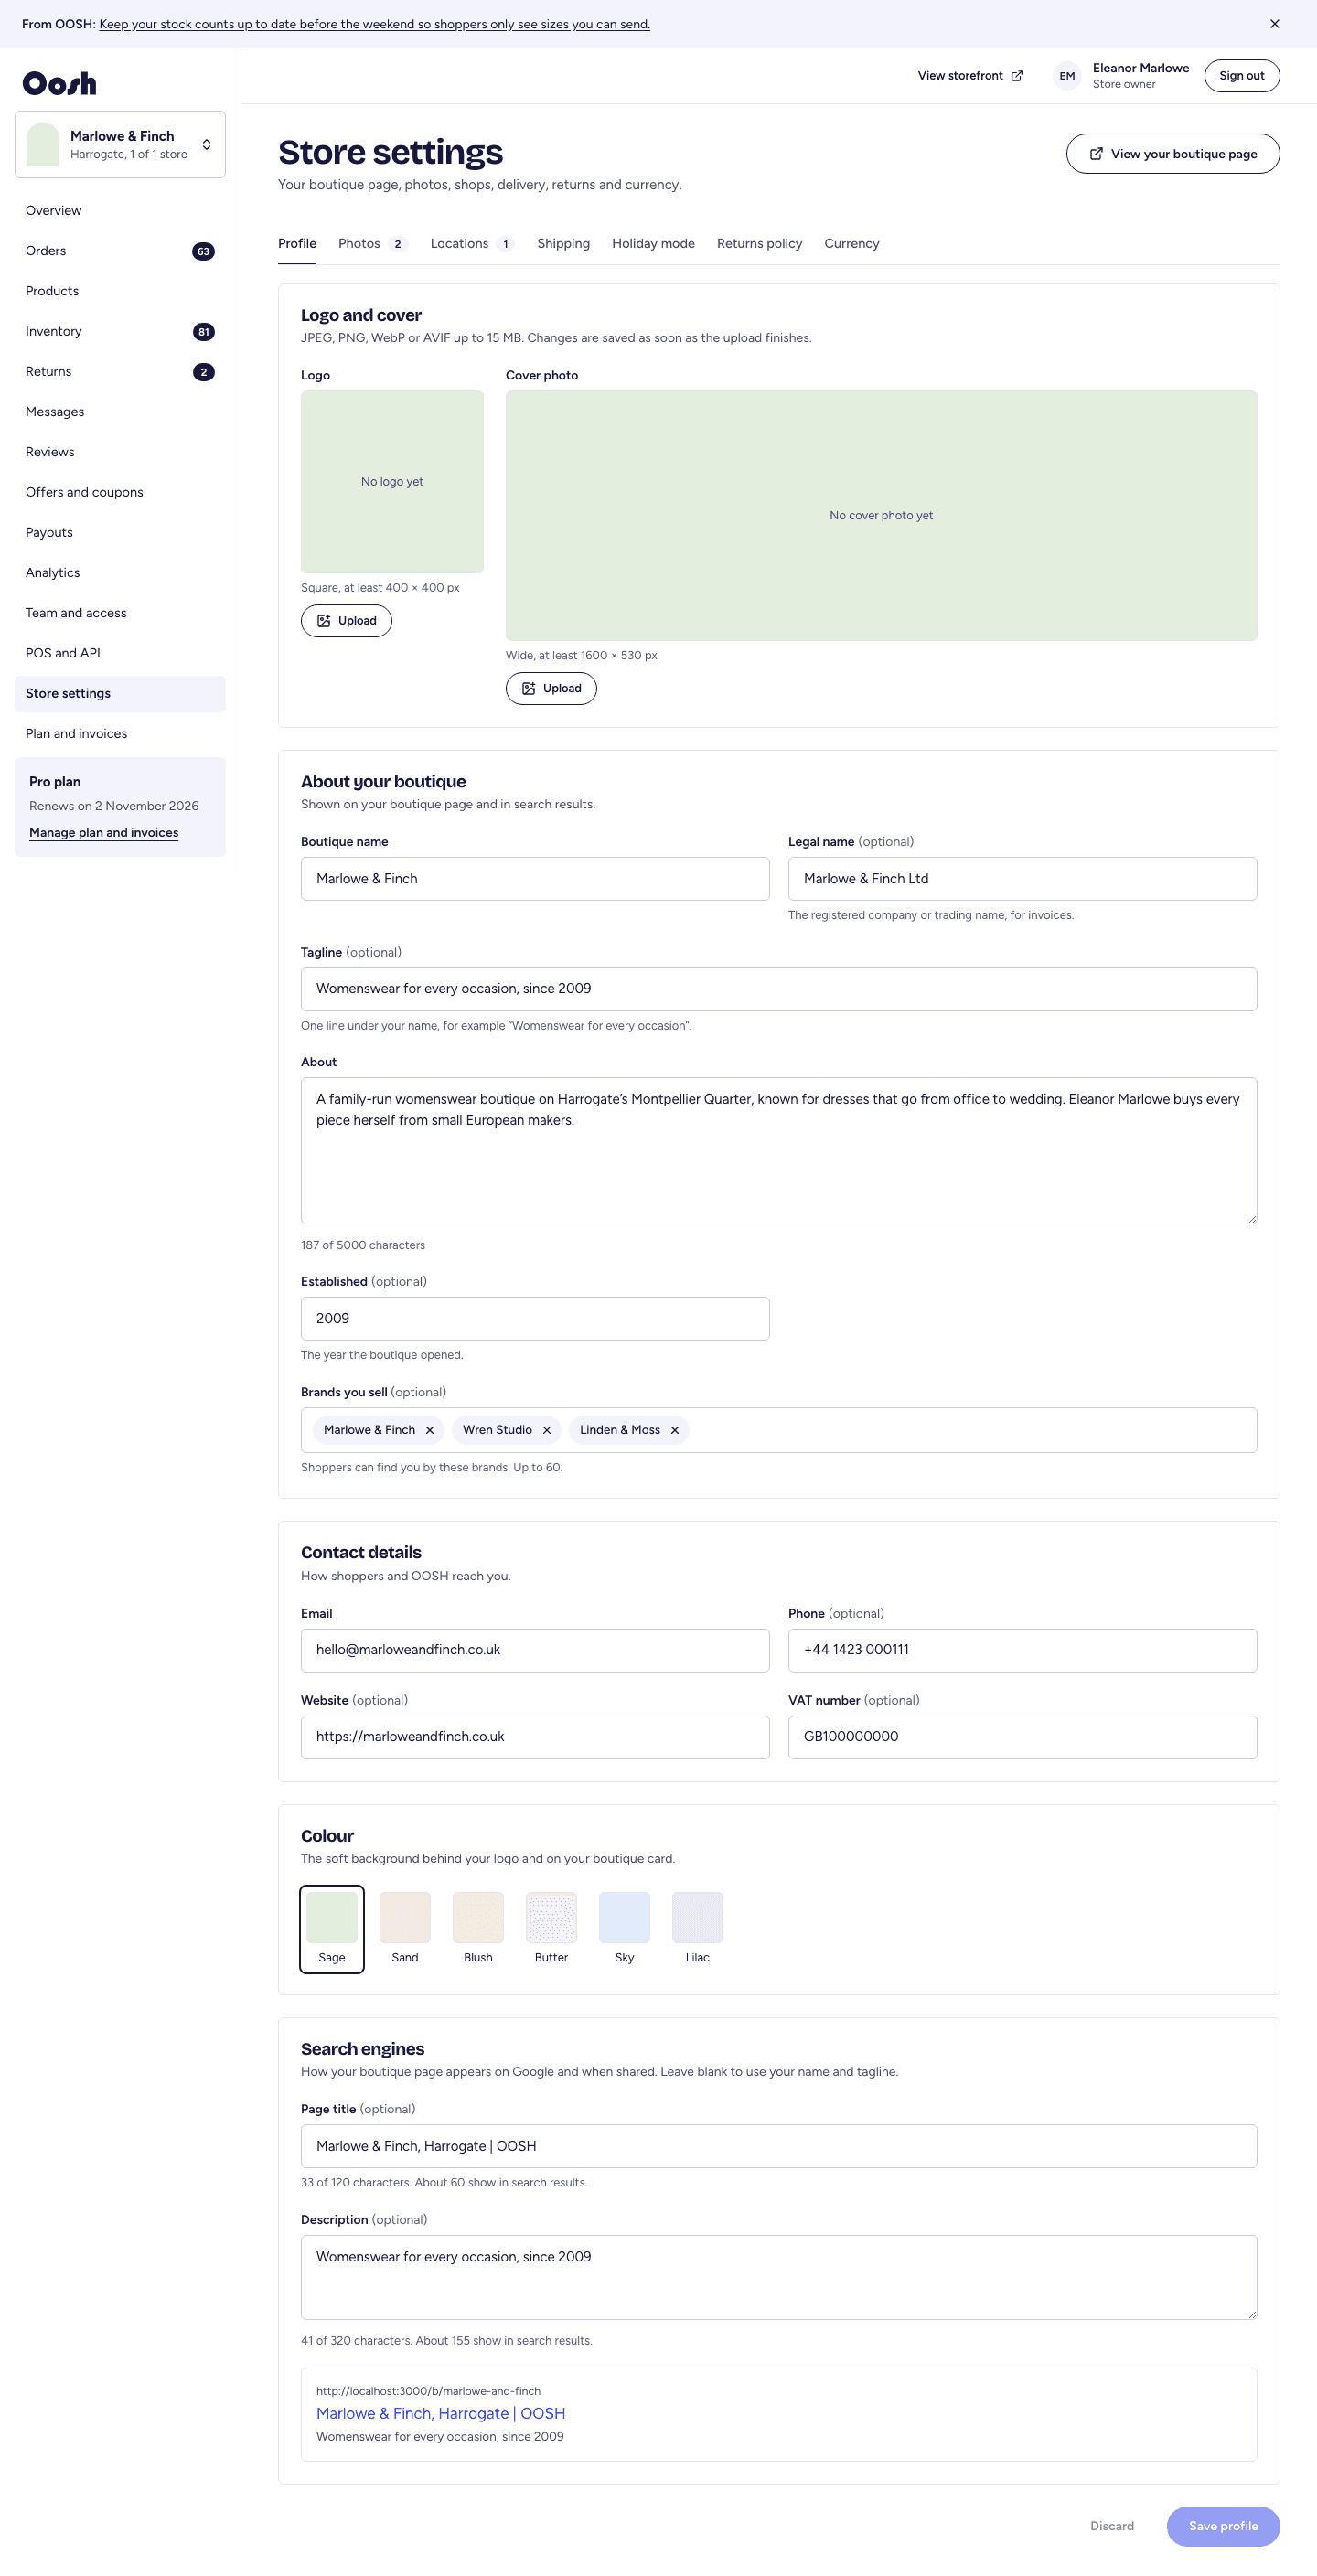
- 1In Store settings, set your boutique name, logo, photos, address, opening hours, delivery options and returns policy.
- 2In Team and access, invite staff and choose what each can do (orders, stock, products, support or finance).
- 3Turn on holiday mode in settings when you need to pause orders.